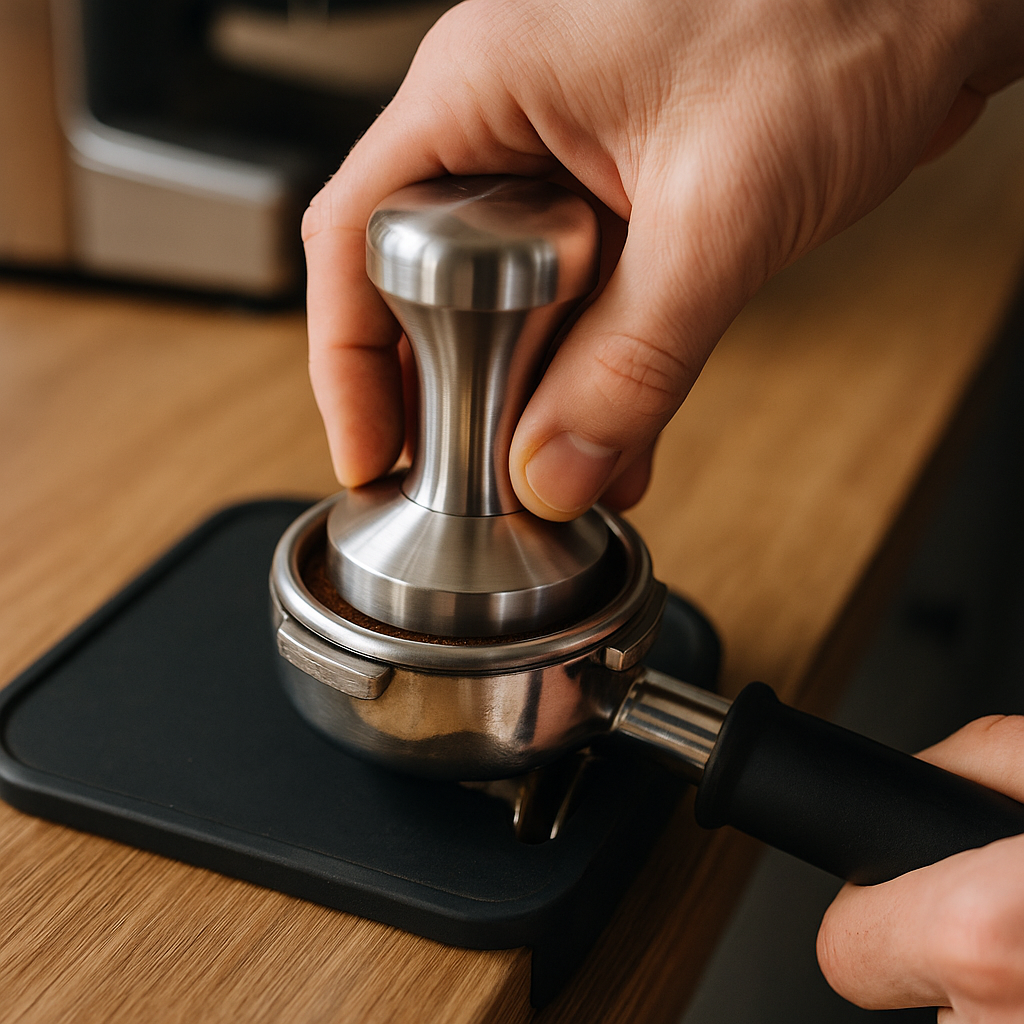
When it comes to pulling a great shot of espresso, many home brewers and even new baristas focus heavily on grind size and machine pressure—but overlook one of the most essential tools in the process: the coffee tamper.
Though it seems like a simple accessory, proper tamping is crucial to even extraction, shot consistency, and the development of complex espresso flavors.
In this detailed guide, we’ll explore what a tamper does, the different types available, how to use it correctly, and why it’s a non-negotiable element in any serious espresso setup.
What Is a Coffee Tamper?
A coffee tamper is a small handheld tool used to compress ground coffee evenly into the portafilter basket before brewing espresso. By applying consistent, level pressure, you remove air pockets and create uniform resistance against the flow of pressurized water from the machine.
Tamping directly affects:
- The flow rate of water through the puck
- Channeling (when water finds weak spots and flows unevenly)
- The pressure profile of the shot
- The extraction balance of acids, sugars, and bitters
Without a good tamp, even the best grinder and machine won’t deliver optimal results.
Why Tamping Matters
Espresso brewing occurs under high pressure—typically 9 bars. If the coffee bed isn’t evenly compressed:
- Water finds the path of least resistance
- Some parts of the puck get over-extracted (bitter)
- Others are under-extracted (sour or weak)
This leads to inconsistent shots, poor crema, and muddled flavor.
Proper tamping ensures:
- A flat, even coffee bed
- Stable puck structure
- Predictable flow rate
- Maximum flavor clarity
Parts of a Tamper
Understanding the anatomy of a tamper helps when comparing models:
- Base: Flat or convex metal plate that compresses the grounds
- Handle: Where you grip the tamper (can vary in shape, weight, and material)
- Size: Measured in millimeters, matching the diameter of your portafilter basket
Common sizes include:
- 58mm – Standard commercial size
- 53mm – Used in many Breville machines
- 51mm or smaller – Found in budget or pressurized baskets
Tip: Always match your tamper to the size of your portafilter for optimal coverage.
Types of Coffee Tampers
1. Flat Tamper
- Has a completely flat base
- Promotes uniform compression
- Most commonly used style
Best For: Beginners and pros alike
2. Convex Tamper
- Slightly curved base
- Encourages edge sealing to reduce channeling
Best For: Baristas who prefer traditional Italian-style espresso
3. Palm Tamper (Push Tamper)
- No handle; presses from the top
- Promotes ergonomic tamping and even force
Best For: High-volume settings or those with wrist issues
4. Calibrated (Spring-Loaded) Tamper
- Clicks or gives feedback when a preset pressure is reached (usually 30 lbs)
- Helps standardize tamping pressure
Best For: Beginners or cafés training new staff
5. Distributor + Tamper Combo
- Has two sides: one to level (distribute) the grounds, and one to tamp
- Often adjustable depth
Best For: Precision-driven home baristas
How to Tamp Correctly: Step-by-Step
1. Distribute the Grounds
Before tamping, ensure the grounds are evenly distributed in the basket:
- Tap gently to settle them
- Use a distribution tool (optional)
- Avoid mounding or uneven layering
2. Grip the Tamper
Hold it like you’d grip a door handle:
- Elbow at 90 degrees
- Wrist straight
- Tamper perpendicular to the basket
3. Apply Firm, Even Pressure
- Press straight down with 20–30 pounds of pressure
- Focus on levelness—crooked tamping causes uneven flow
- You don’t need to press extremely hard—consistency matters more than force
4. Polish the Tamp (Optional)
Some baristas twist slightly at the top to “polish” the surface, though it’s more aesthetic than functional.
5. Inspect and Brew
Ensure the surface is flat and the tamp is even. Insert into machine and pull your shot.
Common Tamping Mistakes
| Mistake | Effect | Fix |
|---|---|---|
| Uneven tamp | Channeling and poor extraction | Practice level tamping, use mat |
| Too little pressure | Fast flow, under-extracted shot | Use more pressure or calibrated tamper |
| Over-tamping | Choked machine, bitter shot | Don’t exceed 30 lbs force |
| Inconsistent technique | Unpredictable results | Practice with repetition |
Additional Tools to Improve Tamping
- Tamping Mat or Station: Protects counters and keeps portafilter stable
- WDT Tool (Weiss Distribution Technique): Breaks up clumps and levels coffee
- Leveler or Distributor: Ensures an even coffee bed before tamping
- Pressure Calibrator: Measures tamping force for training purposes
Does Tamping Pressure Really Matter?
Yes—but probably less than you think. The most important thing is consistency. Whether you tamp at 20 lbs or 35 lbs, doing it the same way every time is key.
Many baristas now focus more on:
- Proper distribution before tamping
- Using the right grind size
- Avoiding puck channeling or cracking
In other words, tamping is just one part of a broader system.
Final Thoughts: Small Tool, Big Impact
The coffee tamper might be humble and simple—but its impact on your espresso is huge. A good tamper helps build the foundation for balanced, rich, and crema-filled shots.
Paired with proper technique and attention to distribution, it ensures your high-quality beans and fancy machine actually live up to their potential.
If you’re serious about espresso—even as a home brewer—invest in a tamper that fits your gear, feels good in your hand, and helps you brew with consistency and confidence.

Marcelo Oliveira is a coffee enthusiast and content creator specializing in barista skills, brewing methods, equipment reviews, coffee-related health insights, and fascinating curiosities from the coffee world. With a deep passion for every step of the brewing process, he turns technical knowledge into accessible and engaging content for both beginners and seasoned coffee lovers. Marcelo’s goal is to help readers appreciate the full experience of coffee—from bean to cup.
