One of the biggest myths in the coffee world is that great coffee requires expensive machines and high-end gadgets.
In reality, you can make excellent coffee at home with a minimal budget, as long as you understand the principles behind brewing. With the right techniques, fresh ingredients, and a few affordable tools, you can unlock café-quality results from your kitchen counter—without breaking the bank.
In this article, you’ll learn how to brew better coffee using simple equipment, smart brewing practices, and a deeper understanding of the coffee-making process.
Whether you’re a student, a minimalist, or just someone who wants better coffee on a budget, this guide is for you.
Why Expensive Doesn’t Always Mean Better
It’s tempting to think that the more you spend, the better your coffee will be. But the truth is, many home brewers invest hundreds of dollars in fancy machines without learning the fundamentals. They end up with bitter, weak, or inconsistent brews—and blame the gear.
Brewing great coffee comes down to:
- Fresh, quality beans
- Correct grind size
- Proper brew ratio
- Water quality
- Consistent method and timing
Mastering these areas with basic equipment will consistently yield better coffee than misusing a $2,000 espresso machine.
Essential Low-Cost Tools for Great Coffee
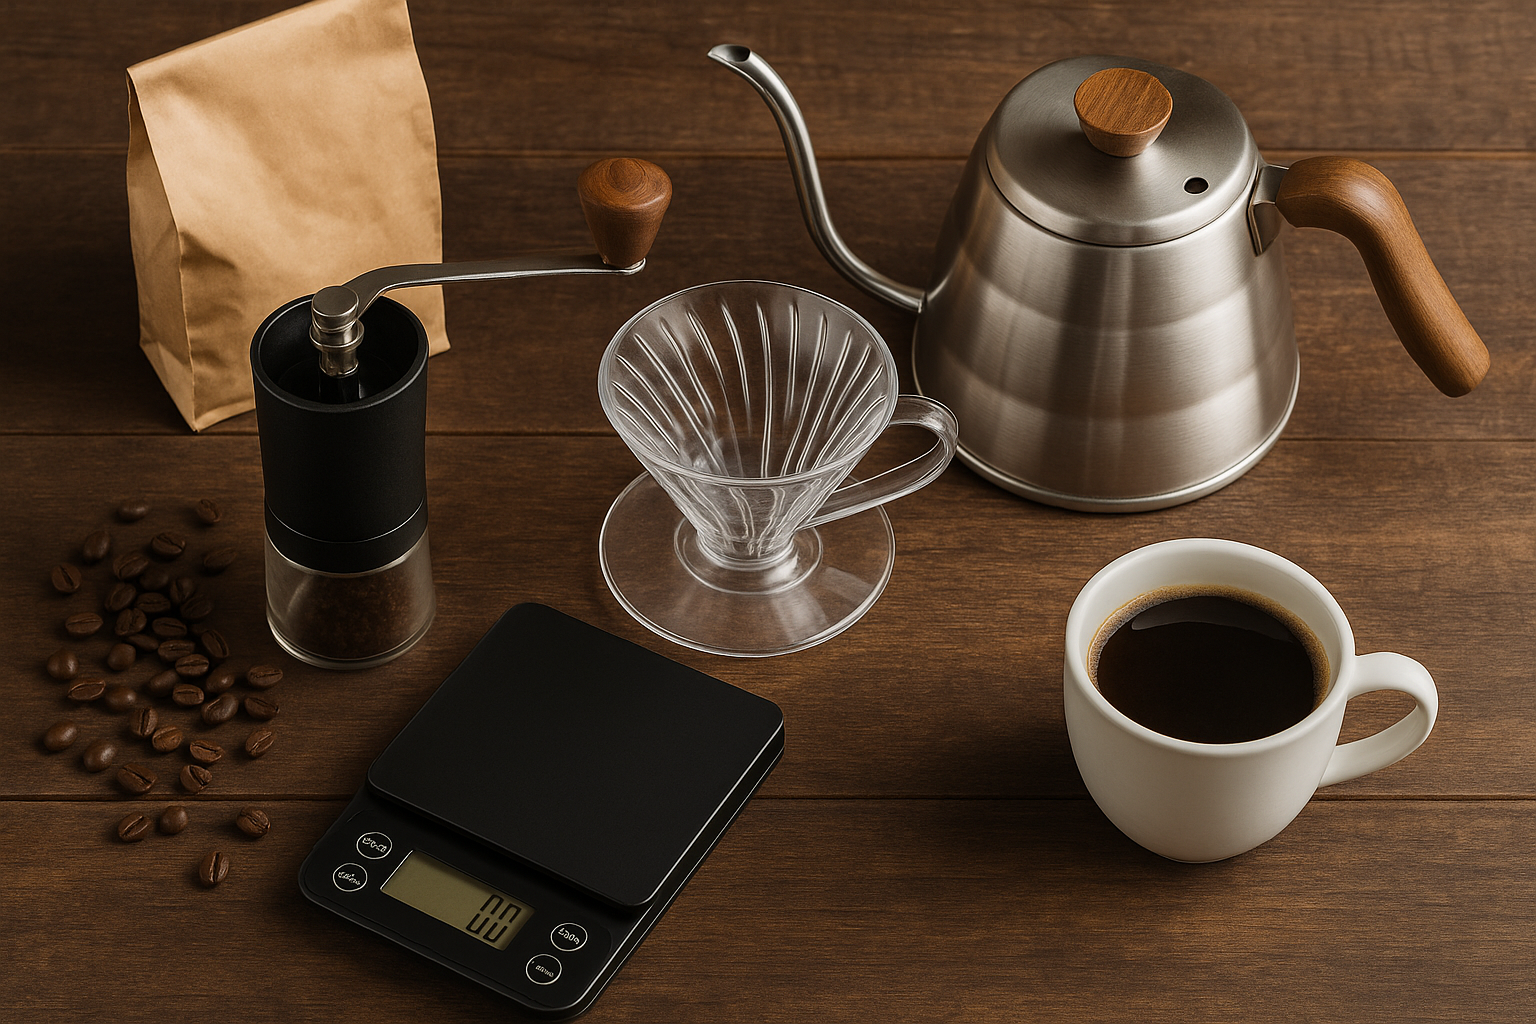
You don’t need a high-tech setup to make amazing coffee. Here are a few affordable tools that make a real difference:
1. Burr Grinder (Manual or Entry-Level Electric)
A burr grinder is arguably the most important investment. Even a basic hand grinder (like the Timemore C2 or Hario Skerton) gives better results than a blade grinder.
- Why it matters: Consistent grind size ensures even extraction.
- Cost: $30–$70 (manual), $100+ (basic electric)
2. Digital Scale
Spoons and scoops aren’t accurate. A digital scale lets you measure exact coffee and water amounts for repeatable results.
- Why it matters: Accurate dosing = balanced strength and flavor
- Cost: $10–$30
3. Kettle (Any Kind)
You don’t need a gooseneck kettle—though it helps with pour-over control. A basic electric or stovetop kettle works just fine.
- Why it matters: Consistent water temperature and control
- Cost: $20–$40
4. Your Preferred Brewing Method
Depending on your taste, start with one of these affordable brew devices:
| Method | Gear Needed | Typical Cost |
|---|---|---|
| French Press | Glass or steel press | $15–$30 |
| Pour-Over | V60 or similar dripper | $10–$25 |
| AeroPress | Complete brewing system | $30–$40 |
| Moka Pot | Stove-top espresso maker | $20–$35 |
Step-by-Step: Brewing Excellent Coffee on a Budget
Here’s how to put it all together using simple gear and smart practices.
Step 1: Choose Good Beans
You don’t need ultra-rare micro-lots. Just look for:
- Fresh roast date (preferably within 2–4 weeks)
- Whole beans (not pre-ground)
- A roast that matches your method (light for pour-over, medium for press, dark for Moka)
You can often find great local roasters or affordable specialty coffee online for under $15 per bag.
Step 2: Grind Fresh and Match the Method
Pre-ground coffee stales fast. Grinding just before brewing gives you:
- Maximum aroma
- Better extraction
- More control over brew strength
| Method | Grind Size |
|---|---|
| French Press | Coarse |
| Pour-Over | Medium to medium-fine |
| AeroPress | Fine to medium |
| Moka Pot | Fine (not espresso-fine) |
Manual burr grinders are great for beginners—and they last for years.
Step 3: Measure the Right Ratio
Most brewing mistakes come from using too much or too little coffee.
A good starting point:
- 1:15 to 1:17 ratio (1g coffee per 15–17g water)
So if you’re using:
- 20g of coffee → use 300–340g of water
Use a digital scale to avoid guesswork. The difference between a weak and a flavorful cup can be just 2–3 grams.
Step 4: Use Filtered Water
Your water should taste good on its own. If it doesn’t, your coffee won’t either.
- Use filtered water or spring water
- Avoid distilled water (no minerals = poor extraction)
- Don’t use hot tap water—it may contain sediments or chlorine
Step 5: Brew with Control
No matter what method you use, slow down and stay consistent. Follow brew time and technique carefully.
French Press Example:
- Add 30g of coarse coffee
- Pour 500g of hot water (just off the boil)
- Stir gently
- Steep for 4 minutes
- Press and serve
Pour-Over Example:
- Rinse your paper filter
- Add 20g medium-fine coffee
- Bloom with 40g water for 30 seconds
- Pour rest of 300g water over 2–3 minutes
- Swirl and serve
AeroPress Example:
- Add 15g of fine coffee
- Pour 225g of water
- Stir, steep for 1 minute
- Press gently over 30 seconds
You’ll get cleaner, smoother, more flavorful results just by being mindful of these steps.
Upgrades You Can Add Later
Once you’ve mastered the basics, you can improve your setup with:
- A gooseneck kettle for pour-over control
- A better grinder with finer micro-adjustments
- A scale with timer
- A milk frother for homemade lattes
These upgrades aren’t necessary at the start—but they’ll give you even more control as your skills grow.
Bonus Tips for Better Home Brewing
- Store beans in an airtight container (not the freezer)
- Avoid reheating coffee—brew smaller batches instead
- Use timers to track brew time precisely
- Clean your gear regularly—old oils ruin fresh flavors
- Don’t rush the process—enjoy the ritual
Final Thoughts: You Don’t Need Fancy Gear to Brew Amazing Coffe
At its core, coffee brewing is simple chemistry. You don’t need a $500 machine to get it right—you just need to understand your variables and use them wisely.
By focusing on fresh beans, proper grind, accurate ratios, clean water, and consistency, you can brew incredible coffee at home with gear that costs less than a dinner out.
Start where you are. Brew intentionally. Improve one step at a time—and you’ll never look at overpriced café coffee the same way again.

Marcelo Oliveira is a coffee enthusiast and content creator specializing in barista skills, brewing methods, equipment reviews, coffee-related health insights, and fascinating curiosities from the coffee world. With a deep passion for every step of the brewing process, he turns technical knowledge into accessible and engaging content for both beginners and seasoned coffee lovers. Marcelo’s goal is to help readers appreciate the full experience of coffee—from bean to cup.
